
How to host a Minecraft server for free forever with NordVPN!
With this simple guides you will be able to host your own Minecraft at home for free with NordVPN without paying a cent in fees.
Intro
Well with this guide you will be able to make a Minecraft without paying a cent, so you can play with your friends that you invite to your personal private server, you can have up to 50 people join your server and play at a time.
What you will need
You only need 4 things to complete this guide.
- A computer to run NordVPN and Minecraft
- A computer to play on (this can be the same computer however that is not recommended)
- A NordVPN account
- An internet connection
What you will not need
- A NordVPN subscription
Step 1
Getting started
First, go onto the computer that you will be using to host the Minecraft server, and download the Minecraft server, I use PurPur because it has build-in tools, to log and aid the TPS (ticks per second) of the server and is open-source.
Now, lets download Java to run our server, download the Java JDK from here, Make sure to download and install the newest version of the JDK for your computer.
Now open your computer’s terminal and run:
java -jar [insert name of server jar file here] noguiPut the name of your Jar file’s name where it says “[insert name of server jar file here]“.
Now you should have the Minecraft server running on your computer, to test this try opening Minecraft and going to muil-player and pressing “Direct Connect” and enter “127.0.0.1” on the same computer.
Step 2
Setting up NordVPN
On the computer that is running the Minecraft server download, NordVPN and sign in to your NordVPN account, or make one for free.
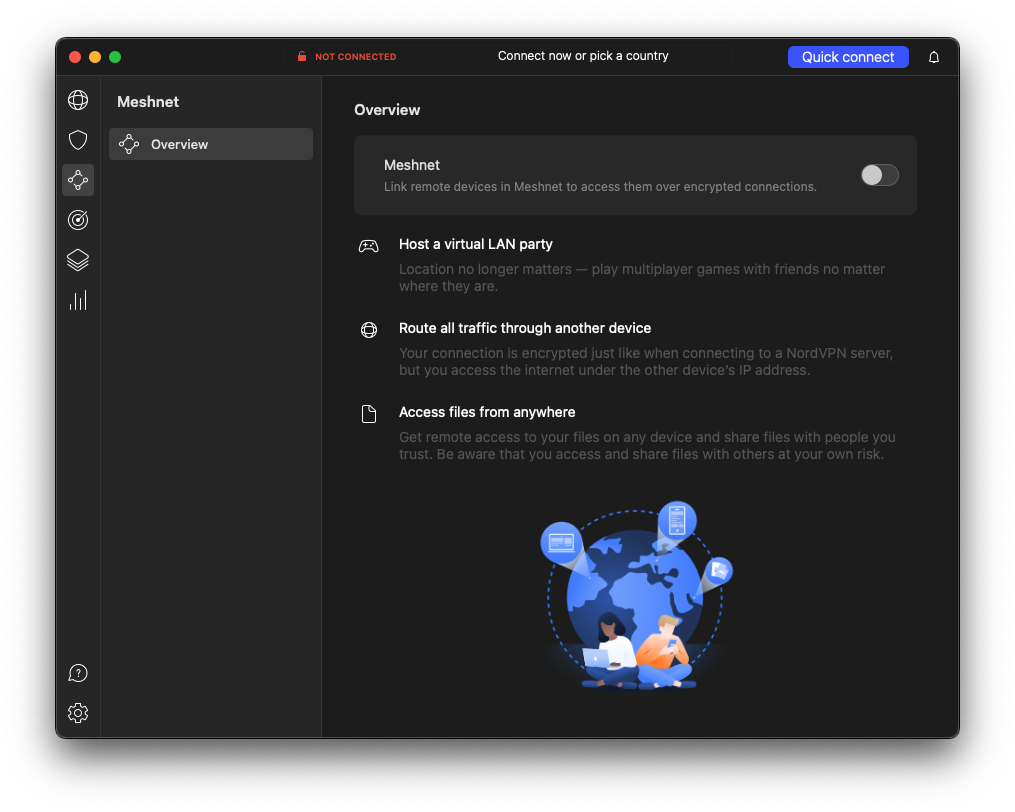
Now you will have to install NordVPN from the installer that you downloaded after you have installed NordVPN, open the app and you should see a side bar that looks like this.

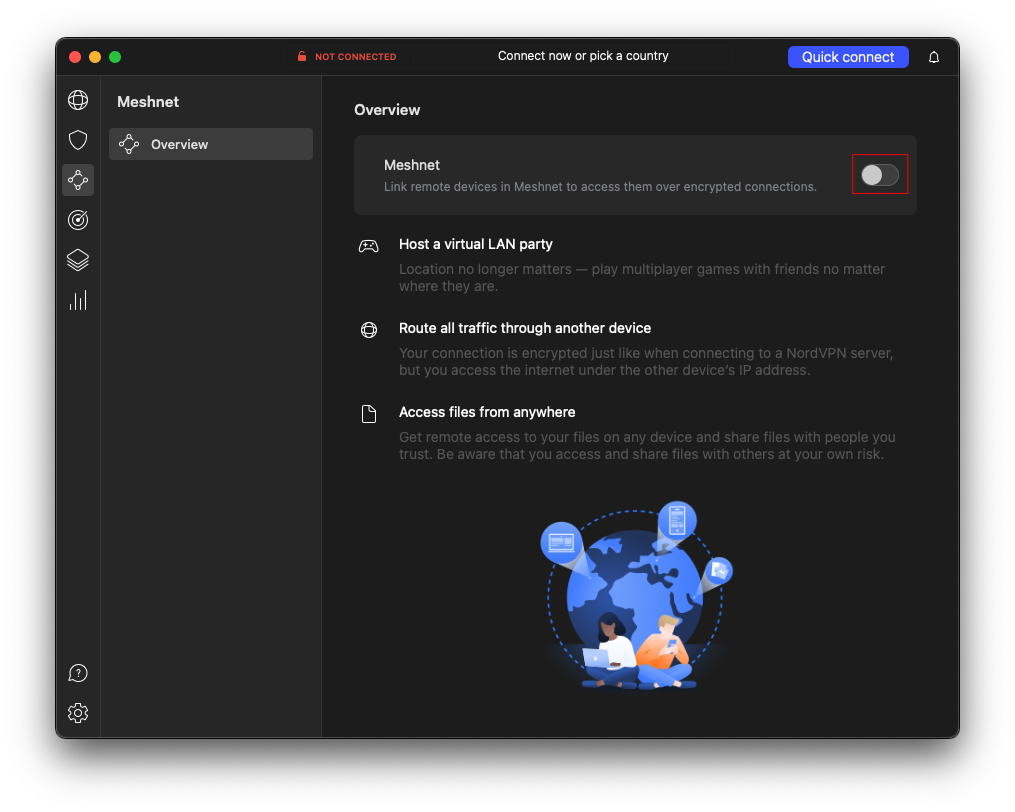
Then click on this icon
![]()
You then should see somthing that looks like this
Then trun it on with the switch
When it’s on you should click this buttion and send an invite to a friend by entering there email

They will need to install NordVPN and also enable Meshnet to access your server
Then click on this one

and copy the devices’s IP address, this is what you and your friend will use to connect to the server with.
Now back onto your normal computer follow the steps to install NordVPN and enable Meshnet with the same NordVPN account. Then you and your friend can play Minecraft for free, forever with no cost to you, or your friend. Thanks to NordVPN’s free Meshnet tools. For infomation on how meshnet works follow this link or this one for more infomation.
Thank you for reading!